Ingredients
Method
Feed Your Sourdough Starter!
- Roughly 12 hours prior to when you plan to bake, mix the dough.
- Add starter ingredients to a clean jar. Combined well, cover with a loose lid and rise at room temp.
- Sourdough is ready to use when it's doubled in size. You should see plenty of bubbles on top and throughout the starter.
Make the Dough
- Mix the dough by transferring 50g of the active starter and 350g water into a large mixing bowl. Stir to evenly combine. Add 500g bread flour and 10g salt to the bowl and use a spatula, wooden spoon or hands to continue to work together the ingredients. Continue to mix until all the little dry bits are incorporated and it forms a shaggy ball.
- Cover the bowl and let the dough rest for 1 hour at room temp.
- Stretch and Fold. Wet your hands with a little water to prevent the dough from sticking to you. Pick up the dough on one side and stretch it up and over itself. Turn the bowl a ¼ way and repeat. Continue to do this until you've gone all the way around. The dough should form into a tight ball.
- Cover the bowl and let the dough rest for 30 minutes.
- Repeat stretch and fold process one more time. This will give the dough volume in the final loaf.
- Bulk Fermentation: After your stretch and folds, cover and let the dough rise for 7-10 hours on your kitchen counter. The dough will have risen by ~50%, not doubled, when it's ready to shape. If the dough has doubled in size, there's a risk it could have over proofed. When this happens, it'll become difficult to shape, the final loaf may feel dense instead of light and fluffy. Reduce the rising time on your next bake.
- Shape and Second Rise: Turn out your dough onto a clean, lightly floured working space. Shape the dough into a ball by pulling 4 sides of the dough into the middle of itself. Turn the dough over so it is seam-side down. Use your hands to gently cup the dough, and pull it toward you. This is sort of like walking the dough toward you. You'll visibly be able to see the dough tighten and stretch. Center the dough onto a piece of baking parchment paper, seam-side facing down. Pick up the parchment paper, and lift the dough up and transfer into a medium sized bowl.
- Cover the bowl with a damp towel and allow it to rest at room temp for 1-2 hours.
- Use your thumb to make an indentation in the dough about ½ an inch deep. If it springs back quickly and all the way, it's under proofed and not ready and you should let it continue to rise for a while longer. If the indention rises slowly and doesn't disappear, then you're ready to bake!
- Score and bake: Roughly 30 minutes before you bake your bread, preheat your oven to 450°F. Your Dutch oven should be preheating in your oven.
- Carefully remove the HOT Dutch oven and take the lid off.
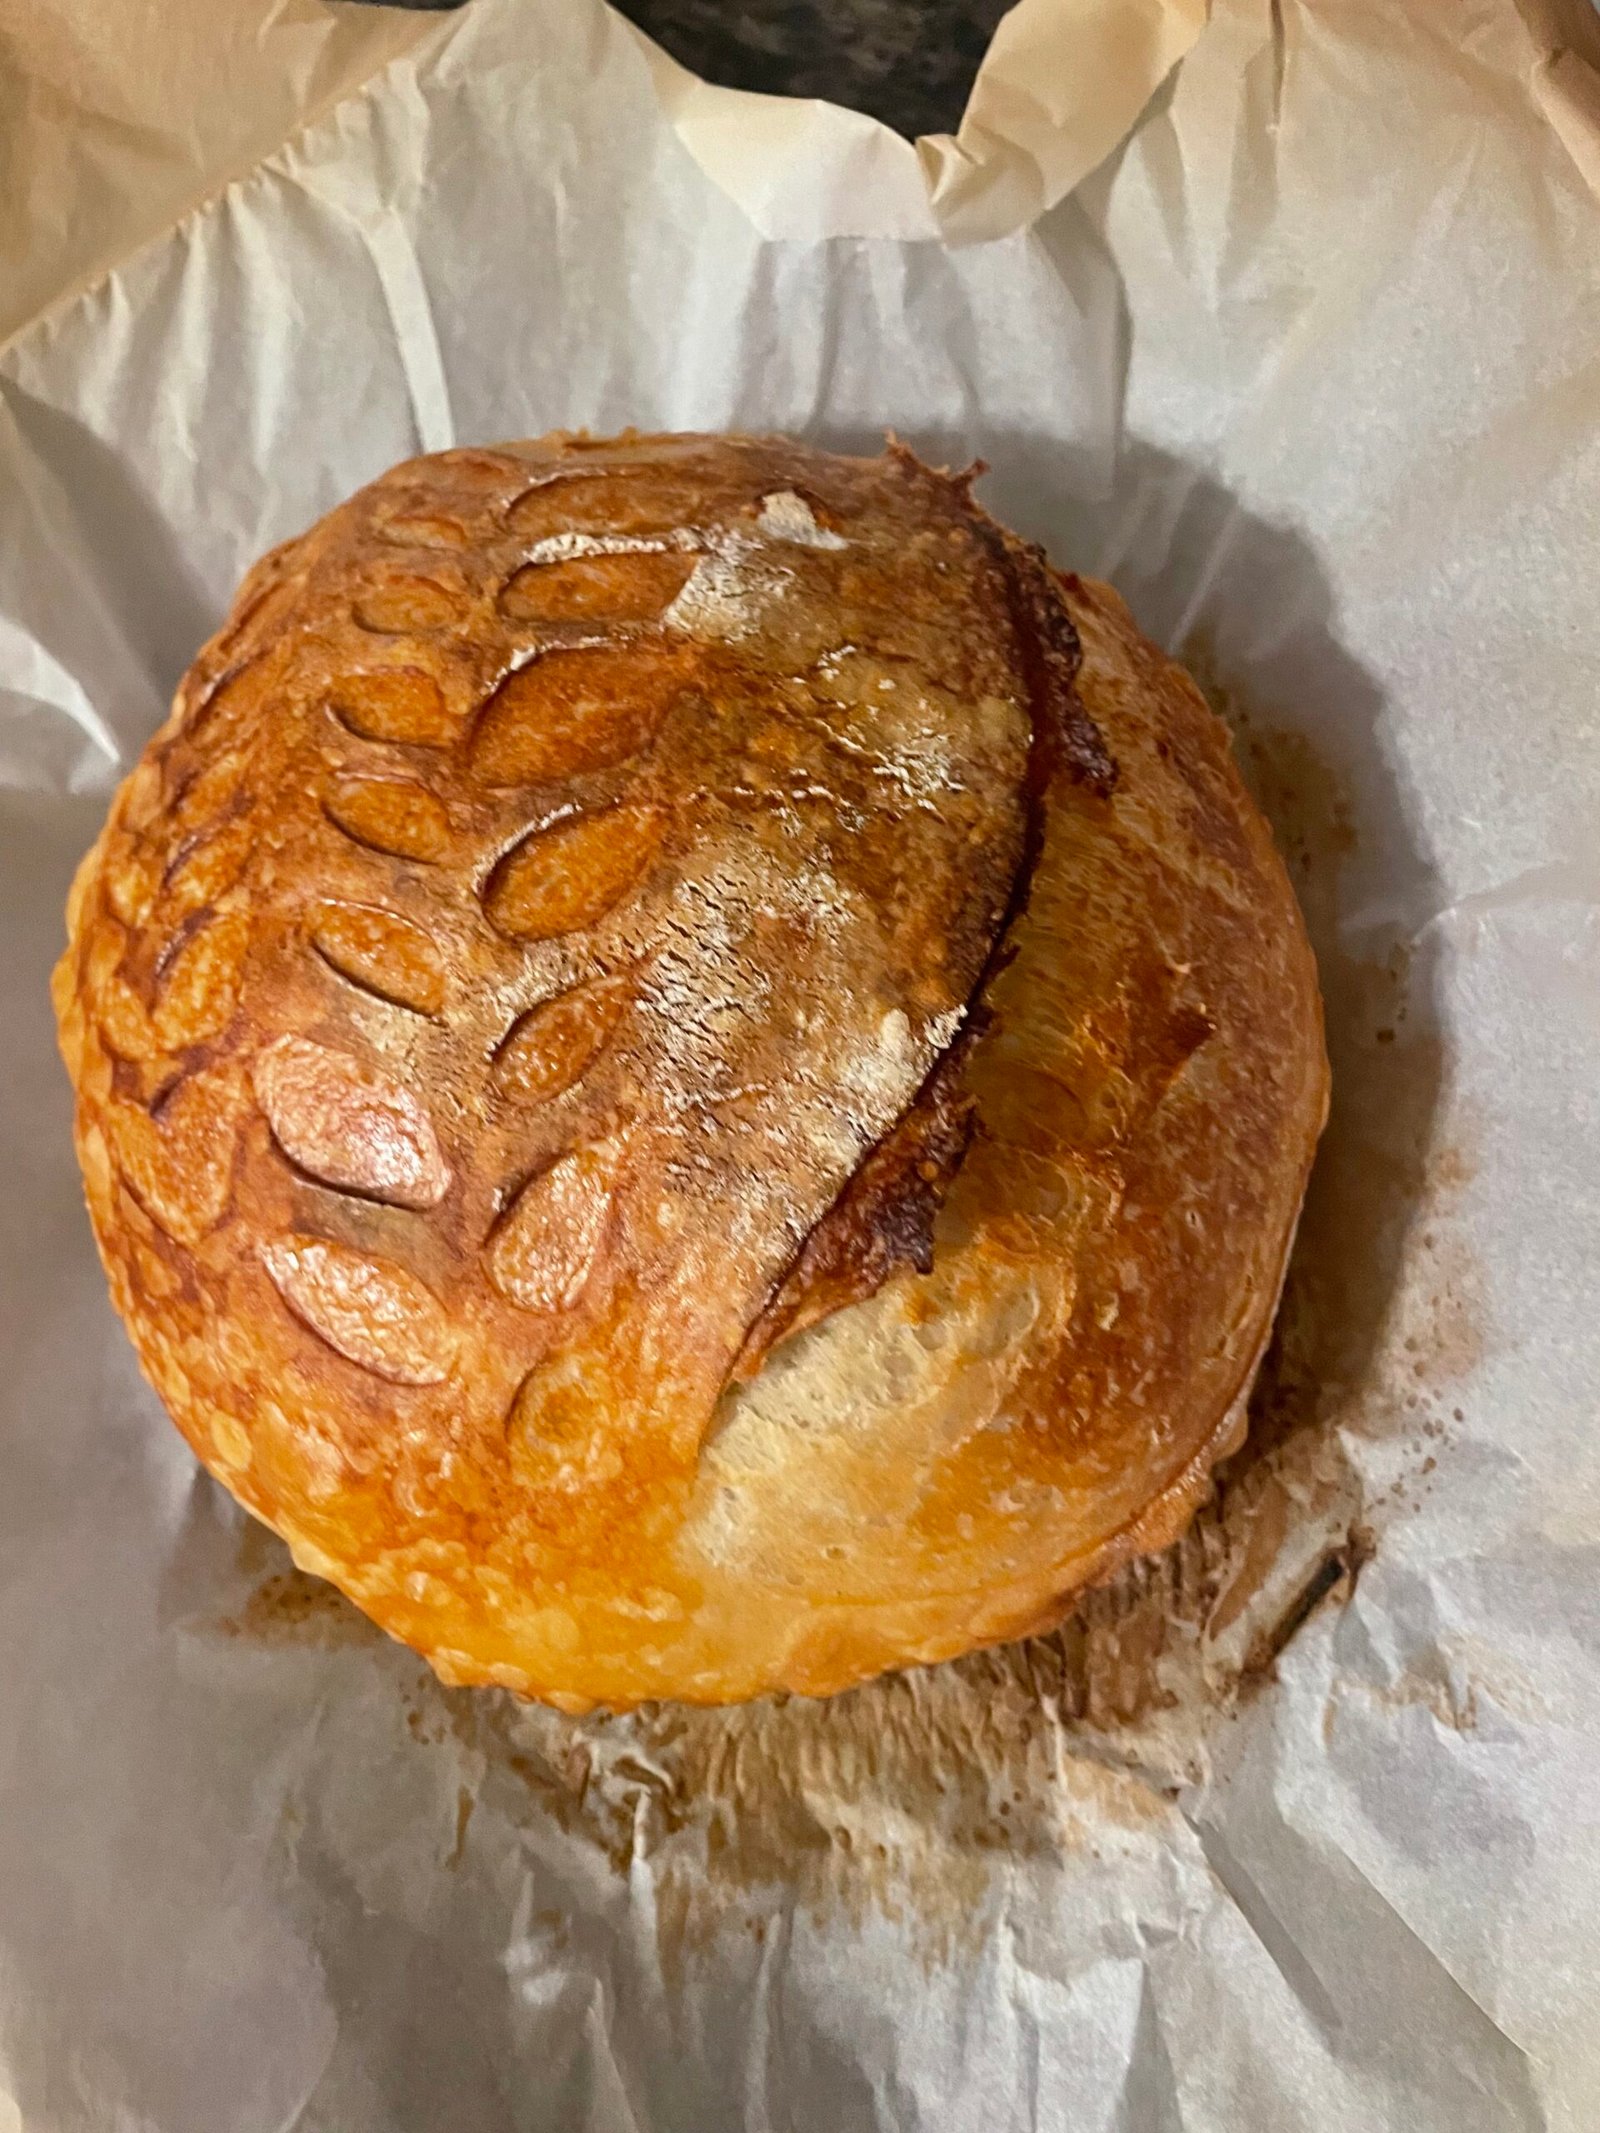
- Score the top of the dough with a razor or sharp knife. Transfer the dough (using the parchment paper as a sling) to lift the dough up and transfer to the Dutch oven. Place the lid on the Dutch oven. Return to the oven and bake with lid on for 20-25 minutes. Remove the lid and bake the remaining time (20-25 minutes), or until crust is golden brown.
- Cool: Once you've removed the bread, give it up to 1-2 hours to cool so avoid it becoming gummy.
- Store: This bread will keep best at room temp. Store in a bread bag, wrapped in a towel or beeswax wrap. Just do not refrigerate. You can freeze this bread, or the slices in plastic wrap for up to 3 months.
Notes
My kitchen was ~70 degrees when making this recipe. If your kitchen is colder/warmer, it may affect the rise time of your dough.
If you're using wheat flour your dough may require additional water. If you're using all-purpose flour, reduce water to 325g and add more during the first set of stretch and folds if necessary.
This bread can be baked without a Dutch oven. It works well in a 9'x5' loaf pan. After your first rise, shape the dough, place it seam-side down into the loaf pan and allow it to rise. Bake at 375°F for 45 minutes.
