Easy Rustic Sourdough Bread Recipe

This easy rustic sourdough bread is great during any season.
This easy rustic sourdough bread recipe is simple and goes great with any meal during any season.

This post may contain affiliate links, which means I may earn a small commission (at no extra cost to you) if you purchase through my link. Thank you for supporting my blog!


You can choose to make this in evening or in the morning, either way, it only takes about 15 minutes of hands-on time to get this recipe ready for the oven.


I started making sourdough about three years ago after co-worker’s wife gifted me discard. It was about the time I took interest in my garden, and I was a little worried I would kill it. Trying to keep my 3 kids, husband, dog, and garden alive was work enough – but add in a living dough!? This is why some people often name their starter. I haven’t … but I’m not opposed to it.

What is Sourdough?

Sourdough is a slow-fermented bread that is naturally leavened with the starter. Rather than using a yeast, sourdough bread rises because of the active cultures in the starter. The starter works within the dough to break down the gluten and creates a bread that is easier to digest for most people. So, not only are you getting a healthier bread, but you’re also getting a yummy bread that could run you $15 at the grocery store.


Sourdough is known for its slightly “sour” flavor and thick, chewy crust. The taste is created by the different kinds of bacteria that live inside sourdough starter. Lactobacillus and acetobacillus help to ferment the sugar in the dough.

Sourdough Starter

But, first you have to have a sourdough starter. Luckily, I was gifted some. If you don’t have access, you can either make your own or buy some.


After being gifted some, I quickly learned that keeping it fed and alive wasn’t that difficult and using it catalyzed my deep love for sourdough bread and baking in general.  To keep it alive, you just need to feed it equal parts water and flour.

Feed your Starter For This Recipe

I learned that if I keep less starter, I’m not wasting a bunch of flour. If I’m not planning to bake, I keep my starter in the fridge. So, when I know I’m going to be baking, I pull out my SDS from the fridge and allow it to rise to the room temperature. Then I feed it equal parts flour and warm water. I like to feed it in the morning, mix the dough before going to bed and then bake it in the morning. This recipe is seriously so easy to fit into our busy schedule – I think you’ll like it too.


So, if you decide to bake in the morning, feed your SDS 12 hours before you plan to bake. Mix 10 grams of unfed starter, 25 grams of flour and 25 grams of warm water into a clean jar. I like to use these jars to cover and let it rise at room temperature.

What Ready-to-use Sourdough Starter Looks Like

When your starter has doubled in size, it’s ready to use. You should see little air bubbles on the surface and throughout.

We normally keep our home anywhere from 72° in our kitchen so it takes roughly 8-10 hours for my dough to rise enough. If your kitchen is cooler, it may take longer to ferment and in warmer kitchens it may be quicker.


To test if your starter is ready, you can drop a dollop into a bowl of water and if it floats, it’s ready to bake with. If it sinks, give the starter a few more feedings and try again. This is called the float test.  I try to keep my starter small, because otherwise I’m discarding a lot. NOTE: You can bake with discard. There are so many recipes available for this, so don’t just chuck it. It could take a few feedings for a new starter to pass the float test.

Ingredients for this Rustic Sourdough Bread

What I love the most about this bread is that it has only 4 key ingredients.

  • Bread flour (I’ve also used all-purpose)
  • Water
  • Salt
  • Sourdough starter

And that’s it!


NOTE: If you use a wheat flour, you may need to play around with measurements. I don’t have a lot of experience in this.

Step-by-Step Guide to Easy Sourdough Bread

To prepare your basic loaf, there are few steps you need to take:

  1. Feed your SDS and let rise until it’s doubled in size
  2. Mix your dough and allow it to rest for 1 hour at room temperature.
  3. Perform 2 sets of stretch and folds, 30 minutes apart
  4. Cover the bowl and allow it to ferment for 8-10 hours on your kitchen counter. *I’ve also stuck it in my oven during the cold months.
  5. Shape the dough and let rise for 1-2 hours.
  6. Score and bake.

Now that we’ve outlined the major steps, let’s dive into each step.

Step 1: Feeding your starter

About 12 hours before you plan to mix the dough, add the following to a clean jar:

  • 10 grams of unfed starter
  • 25 grams water
  • 25 grams flour

Cover the jar loosely and allow it to rest at room temperature. I like to use jars like this one. There are some that have lids attached, which are also nice. 

Step 2: Mix the dough

It should take about 8-12 hours to double in size, depending on the temperature of your room. This is why lots of folks choose to do this step in the evening. So, they can wake up and bake!


Once it’s doubled in size, transfer to a large bowl along with 350 grams of warm water. (I like to use this mixing bowl because it can hold up to two times this recipe.) Stir the two together using a strong wooden spoon, Danish whisk, or spatula until it’s well-incorporated.


Next, add 500 grams of bread flour and 10 grams of salt into the bowl. I like to use a Danish whisk until it’s too hard, and then I just use my hands to mix it together until it forms a shaggy ball. Make sure to incorporate all the straggling bits of dough stuck to the sides.


This is a lower hydration dough, which make it easier for beginners to work with.


Cover the bowl with a damp cloth or plastic wrap and let is rest for an hour on the counter.

This resting period is referred to as “autolyze,” which allows the dough to rest and absorb water, making it easier to work with.

Step 3: Stretch and Fold the Dough

After your hour is up, you’ll perform two sets of stretch and folds to the dough. You’ll do this 30 minutes apart. This process adds strength to the dough and helps with the gluten development.


I like to wet my hands to prevent sticking to the dough. (1) To perform the stretch and folds, pick up the dough on one side and stretch it up and over itself. (2) Turn the bowl ¼ and repeat until you’ve turned the bowl a complete circle. (3) The dough should start to form into a tight ball.


Let the dough rest for 30 minutes and then repeat.

Step 4: Bulk Fermentation

After the second stretch and fold, cover the bowl and let the dough ferment for 8-10 hours on your counter. The dough should be ready for the next step when it’s at least doubled in size. Again, in my kitchen this typically takes 8-10 hours. If you keep your home warmer, your dough may rise faster. So, start checking it about 4 hours in. This is considered the First Rise.

Step 5: Shape and Second Rise

When it’s doubled in size, on a lightly floured workspace, turn your dough out. Shape your dough into a ball by pulling the 4 sides up and into the middle of itself. Turn the dough over so the seam is facing down. If your hands are sticking, you can get them slightly wet. Gently cup the dough, pulling and twisting until it forms a tight skin and build tension on the outside of the dough ball.


Center the ball onto a piece of parchment paper, seam-side down. Carefully move into a bowl. *You can use parchment paper and lift it to make things easier.


Cover and allow it to rise for 1-2 hours.


The dough is ready to bake when it has risen by 25% – not doubled! If you let it sit too long, it can “over proof” which means it begins to deflate. It that happens, you can still use the dough for pizza dough or something. Don’t feel like you need to toss the whole thing!

If you’re uncertain if it’s ready to bake, press your thumb into the dough about half an inch. If the indention springs back very slowly, the dough is ready to bake. If it springs back quickly, and all the way, it needs more time.  If the indention doesn’t spring back at all, it’s likely over proofed.

Step 6: Preheat oven with a Dutch oven inside

About 30 minutes or so before the dough is ready to bake, preheat your oven to 450°F with the empty Dutch oven inside.

I use this 5 quart Dutch oven, and it’s a workhorse! This pan acts like a commercial steam oven by trapping the steam from the dough during the first 20 minutes of baking. The steam helps to produce the oven spring, or rise, of the bread.

Step 7: Score and Bake

Once the dough is ready, I use a razor to score the bread to create 2-3 inch slashes to the top of the dough.

Scoring the dough allows dough to expand and rise upward instead of bursting at its weakest point. PLUS, it’s pretty to look at!   


Carefully remove the pan from the oven, remove the lid and using the parchment paper that the dough is sitting in as a sling to carefully lift it out of the bowl and transfer into HOT Dutch oven. I use a normal set of oven mits for this, but I’ve heard people have success with rubber mits too.


Replace the lid and return to the oven and bake for 20 minutes.


Remove the lid and bake uncovered for another 25-30 minutes or until the crust is golden brown.


Remove and allow it to cool for 1-2 hours before slicing to prevent it from becoming gummy. I was gifted a bread knife like this one – highly recommend! 

Additional tips:

Keep a Journal

Keeping a food journal can help you identify techniques you tried and if they worked. You can capture temperature of the room and see if that likely affected your rise rate. Play around and see what works best for you. Again, this recipe is supposed to be no-fuss.


Use a measuring scale

I’m normally a “just eyeball it” kind of cook, but when it comes to sourdough, it’s a little bit more like a science experiment. I’ve found using a measuring scale, like this one,  has increased my likelihood of success. I’ve found that I don’t “need” to fluff my flour, if I’m measuring it by weight and a dash of salt is lighter than it looks.


Fed sourdough makes for better bread

I’ve found that my best breads are from recently fed sourdough starter. Many recipes say to feed and allow your starter to sit 8-10 hours (even this one), but you must watch your sourdough starter and use it at the height of its bloom. My best loaves have come from starter that was fed within the last 6 hours. That may be because my kitchen’s been warmer, but the point remains… watch the starter and be ready to use it when it looks ready.


No Dutch oven?

That’s ok! There is such a thing as open baking. You could put this on a round pizza stone and bake it. I’d recommend baking it on the middle rack and having a pie tin on the lower rack. Add about ½ a cup of water to it about 5-10 minutes before you add your bread into the oven.  You could also bake this in a regular 9×5 loaf pan.

Grace is the Process

Baking sourdough has taught me more than just kitchen skills—it’s taught me patience, consistency, and trust in a slow process. In a world that craves instant results, sourdough reminds me that good things often rise in the waiting.

“Let us not grow weary in doing good, for at the proper time we will reap a harvest if we do not give up.” — Galatians 6:9

Whether your loaf is picture-perfect or a little wonky, remember you’re learning. And learning is holy work, especially when it’s done for the ones you love.


This bread is meant to be easy and forgiving—no-fuss and full of grace. The more you bake it, the more familiar it becomes. You’ll start to feel the dough in your hands and trust the timing, even when it doesn’t go quite as planned. Remember, if the dough over proofed – you can still use it for pizza dough – sort of like when a situation doesn’t go as planned yet still brings God glory.


If this is your first time trying sourdough, be proud of yourself. You’re nurturing something real, something that feeds your family and your soul. And if it flops? That’s okay. You’re not failing—you’re growing.


If you try this recipe, I’d love to hear how it went. Leave a comment or tag me—I’d be honored to cheer you on. Thanks for gathering around my hearth today – there’s room for more floured hands!

This easy rustic sourdough bread is great during any season.
TheGracefulHearth@gmail.com

Easy Rustic Sourdough Bread

Do you want to join the Sourdough trend the easy way? This beginner’s recipe will guide you through the process, step-by-step.
Prep Time 15 minutes
Cook Time 50 minutes
Fermentation Time 8 hours
Servings: 1 loaf
Course: Side Dish
Cuisine: American
Calories: 155

Ingredients
  

Sourdough Starter - This will make 50 grams of Active Sourdough
  • 10 grams Sourdough starter (2tsp)
  • 25 grams All-purpose flour (3 tbspn)
  • 25 grams Water (5 tsp)
Dough Ingredients
  • 50 grams All-purpose flour starter (¼ cup) (100% hydration)
  • 350 grams Warm water (1⅓ cups + 2 tbsp)
  • 10 grams Salt (2 tsp) I use table salt, but a fine sea salt would probably be better
  • 500 grams Bread flour (~4 cups + 2 tbsp) I've made this recipe with all-purpose flour too.

Method
 

Feed Your Sourdough Starter!
  1. Roughly 12 hours prior to when you plan to bake, mix the dough.
  2. Add starter ingredients to a clean jar. Combined well, cover with a loose lid and rise at room temp.
  3. Sourdough is ready to use when it's doubled in size. You should see plenty of bubbles on top and throughout the starter.
Make the Dough
  1. Mix the dough by transferring 50g of the active starter and 350g water into a large mixing bowl. Stir to evenly combine. Add 500g bread flour and 10g salt to the bowl and use a spatula, wooden spoon or hands to continue to work together the ingredients. Continue to mix until all the little dry bits are incorporated and it forms a shaggy ball.
  2. Cover the bowl and let the dough rest for 1 hour at room temp.
  3. Stretch and Fold. Wet your hands with a little water to prevent the dough from sticking to you. Pick up the dough on one side and stretch it up and over itself. Turn the bowl a ¼ way and repeat. Continue to do this until you've gone all the way around. The dough should form into a tight ball.
  4. Cover the bowl and let the dough rest for 30 minutes.
  5. Repeat stretch and fold process one more time. This will give the dough volume in the final loaf.
  6. Bulk Fermentation: After your stretch and folds, cover and let the dough rise for 7-10 hours on your kitchen counter. The dough will have risen by ~50%, not doubled, when it's ready to shape.
    If the dough has doubled in size, there's a risk it could have over proofed. When this happens, it'll become difficult to shape, the final loaf may feel dense instead of light and fluffy. Reduce the rising time on your next bake.
  7. Shape and Second Rise: Turn out your dough onto a clean, lightly floured working space. Shape the dough into a ball by pulling 4 sides of the dough into the middle of itself. Turn the dough over so it is seam-side down.
    Use your hands to gently cup the dough, and pull it toward you. This is sort of like walking the dough toward you. You'll visibly be able to see the dough tighten and stretch.
    Center the dough onto a piece of baking parchment paper, seam-side facing down. Pick up the parchment paper, and lift the dough up and transfer into a medium sized bowl.
  8. Cover the bowl with a damp towel and allow it to rest at room temp for 1-2 hours.
  9. Use your thumb to make an indentation in the dough about ½ an inch deep. If it springs back quickly and all the way, it's under proofed and not ready and you should let it continue to rise for a while longer. If the indention rises slowly and doesn't disappear, then you're ready to bake!
  10. Score and bake: Roughly 30 minutes before you bake your bread, preheat your oven to 450°F. Your Dutch oven should be preheating in your oven.
  11. Carefully remove the HOT Dutch oven and take the lid off.
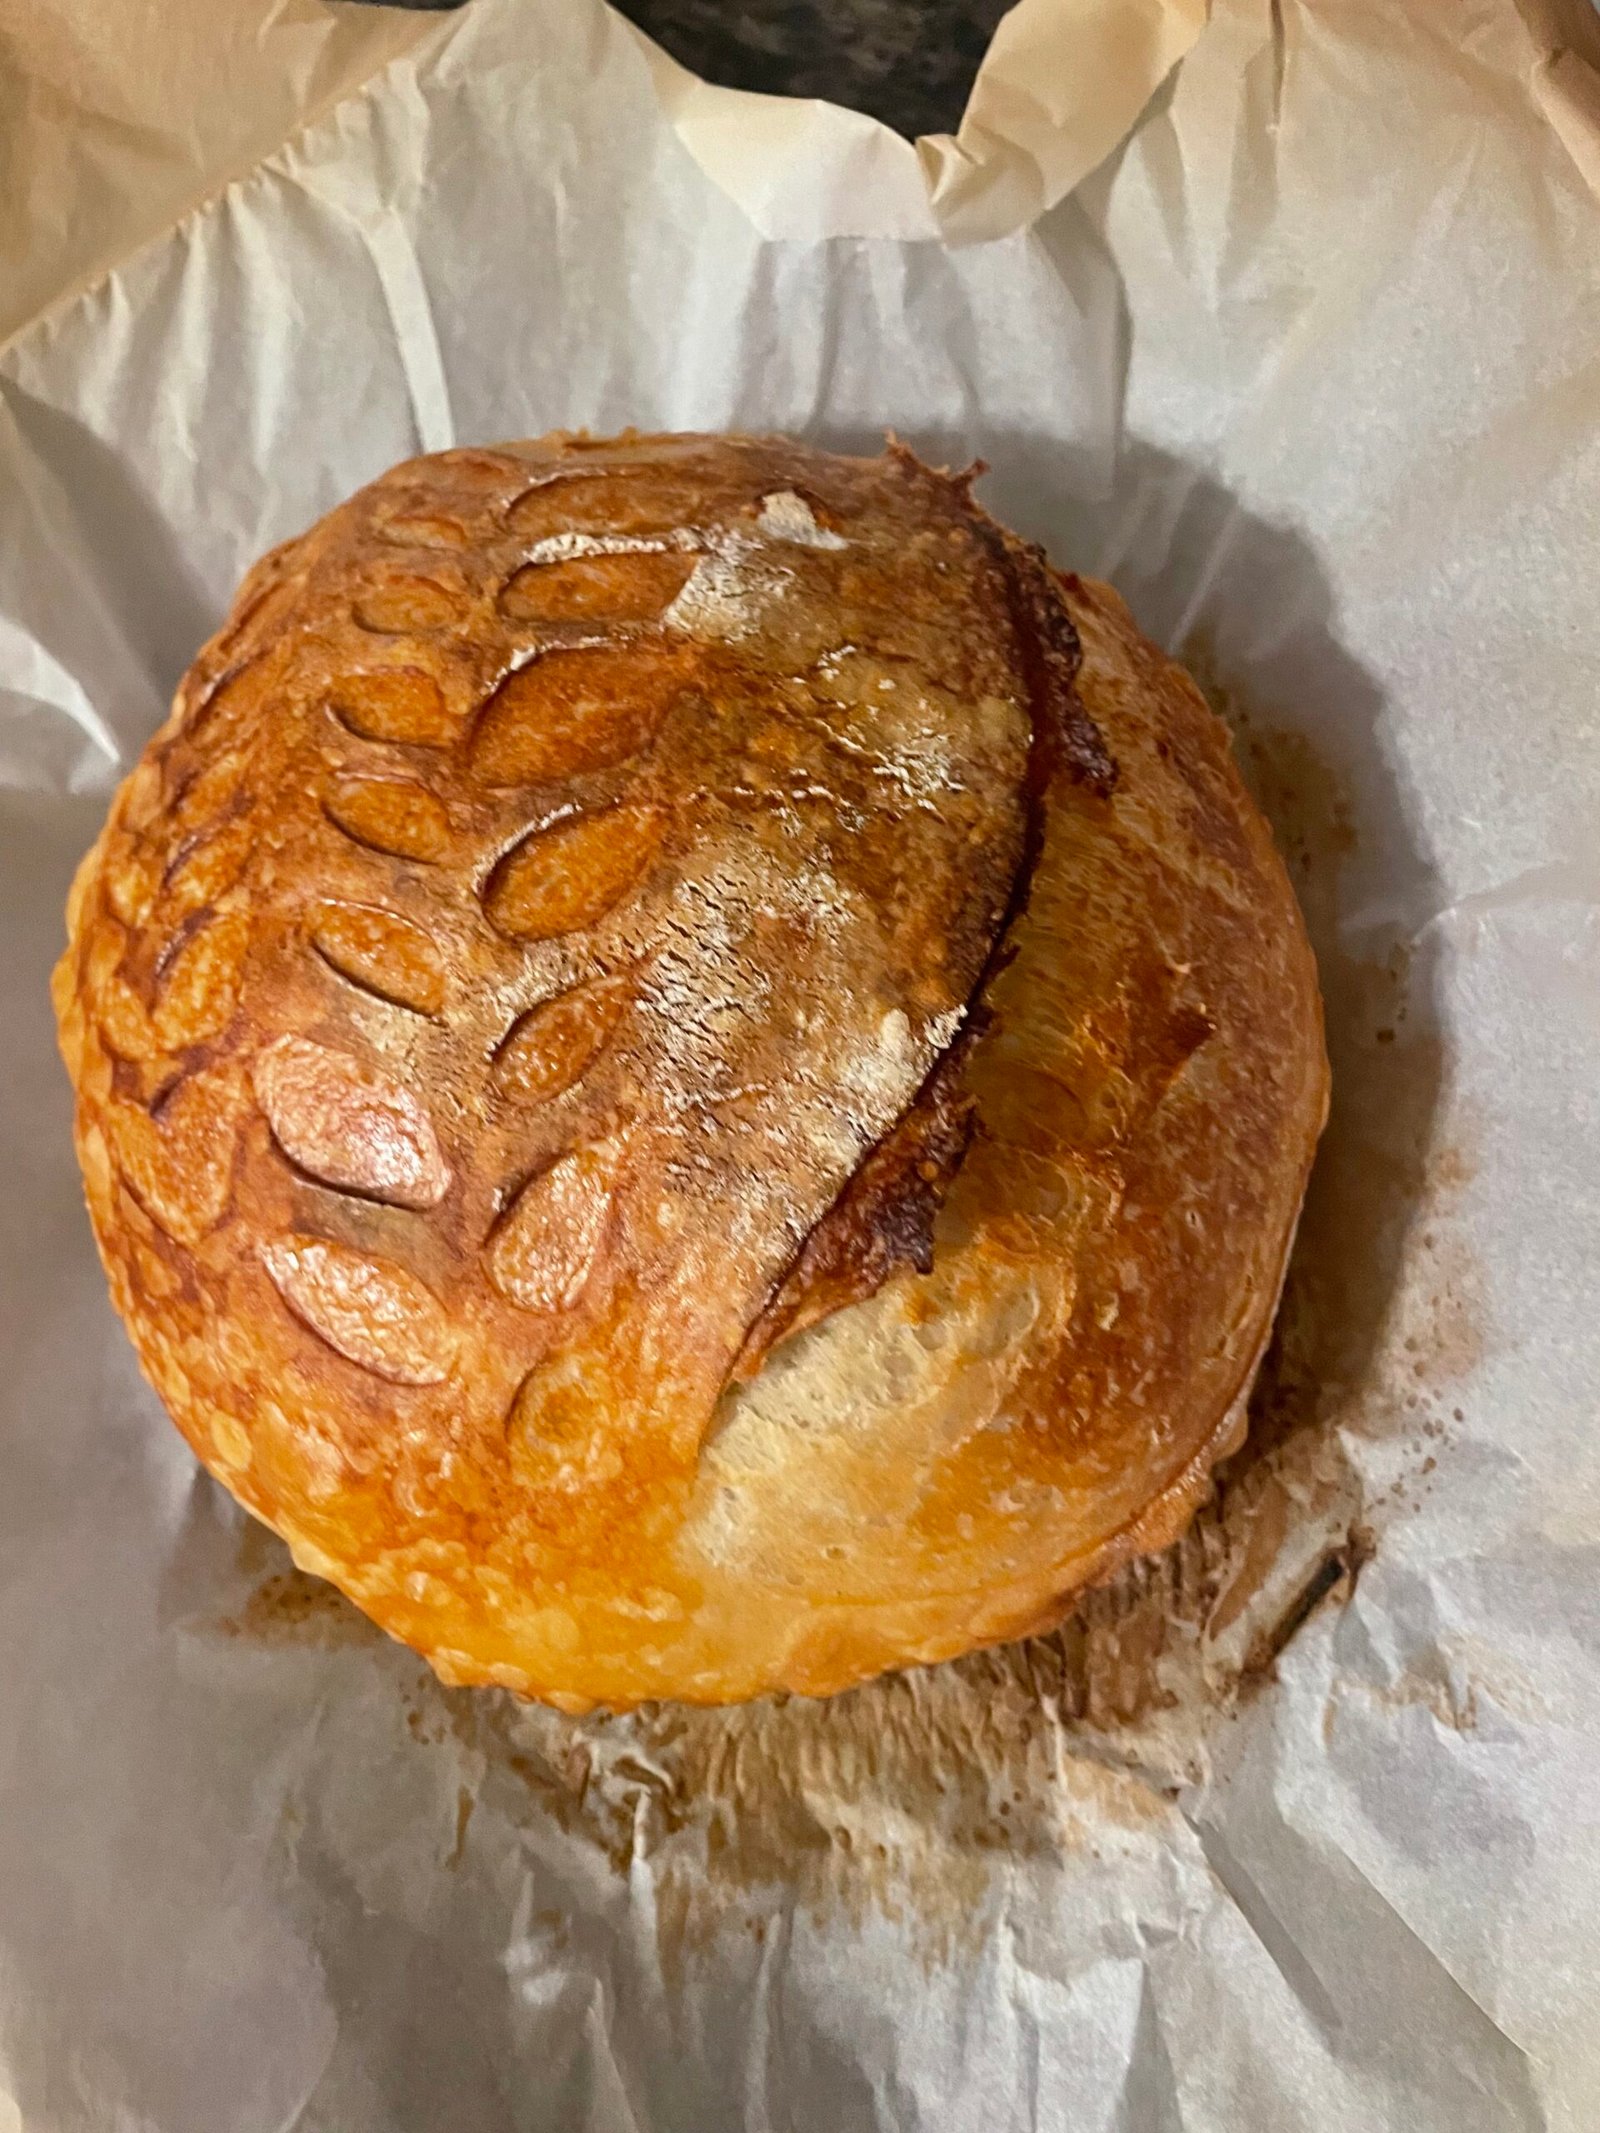
  12. Score the top of the dough with a razor or sharp knife. Transfer the dough (using the parchment paper as a sling) to lift the dough up and transfer to the Dutch oven.
    Place the lid on the Dutch oven. Return to the oven and bake with lid on for 20-25 minutes. Remove the lid and bake the remaining time (20-25 minutes), or until crust is golden brown.
  13. Cool: Once you've removed the bread, give it up to 1-2 hours to cool so avoid it becoming gummy.
  14. Store: This bread will keep best at room temp. Store in a bread bag, wrapped in a towel or beeswax wrap. Just do not refrigerate. You can freeze this bread, or the slices in plastic wrap for up to 3 months.

Notes

My kitchen was ~70 degrees when making this recipe. If your kitchen is colder/warmer, it may affect the rise time of your dough.
If you're using wheat flour your dough may require additional water. If you're using all-purpose flour, reduce water to 325g and add more during the first set of stretch and folds if necessary.
This bread can be baked without a Dutch oven. It works well in a 9'x5' loaf pan. After your first rise, shape the dough, place it seam-side down into the loaf pan and allow it to rise. Bake at 375°F for 45 minutes.

Affiliate Links:

This post may contain affiliate links, which means I may earn a small commission (at no extra cost to you) if you purchase through my link. Thank you for supporting my blog!


These are items that I have tried and know you’ll find useful in your kitchen. 

Leave a Comment

Your email address will not be published. Required fields are marked *

Recipe Rating