This post may contain affiliate links, which means I may earn a small commission (at no extra cost to you) if you purchase through my link. Thank you for supporting my blog!
I spent the week putting together five raised garden beds to help save my back and knees. I didn't find many free plans, so I decided to share my plan free for you.
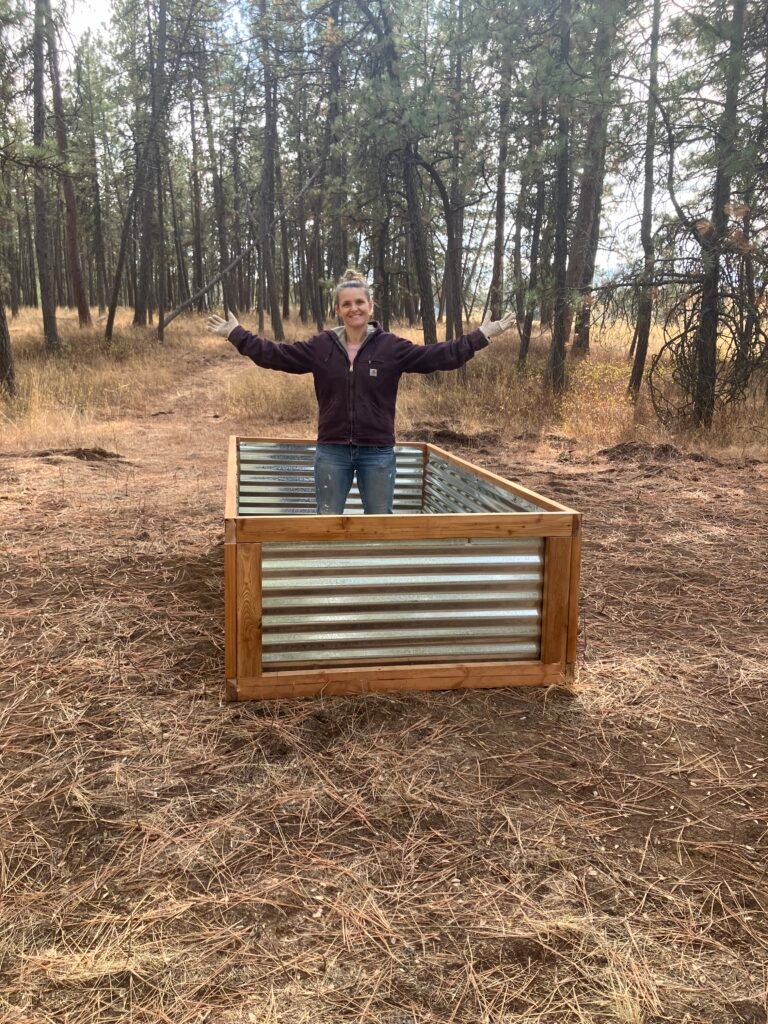
This week I built five raised garden beds! Before diving in, I scrolled through Pinterest and browsed Etsy plans (many were $15 or more) but decided I could design my own for less. After studying dozens of photos, I picked the style I wanted, did the math for measurements and costs, and sketched out a plan. Even though we’re at the tail end of growing season, I wanted them built and filled now so they’ll be ready for planting first thing next spring.
Why Raised Beds?
I chose raised beds mostly because of my lower back and knee issues — some from my military days (jumping out of airplanes), some from years of marathons and rucks, and maybe a little hereditary. Over the last three years I’ve had to make lifestyle changes to take better care of myself, and this is one more way to protect my body. The 4×8 size keeps me from bending too much, and the 2.5-foot height means I can even sit on the edge while working.
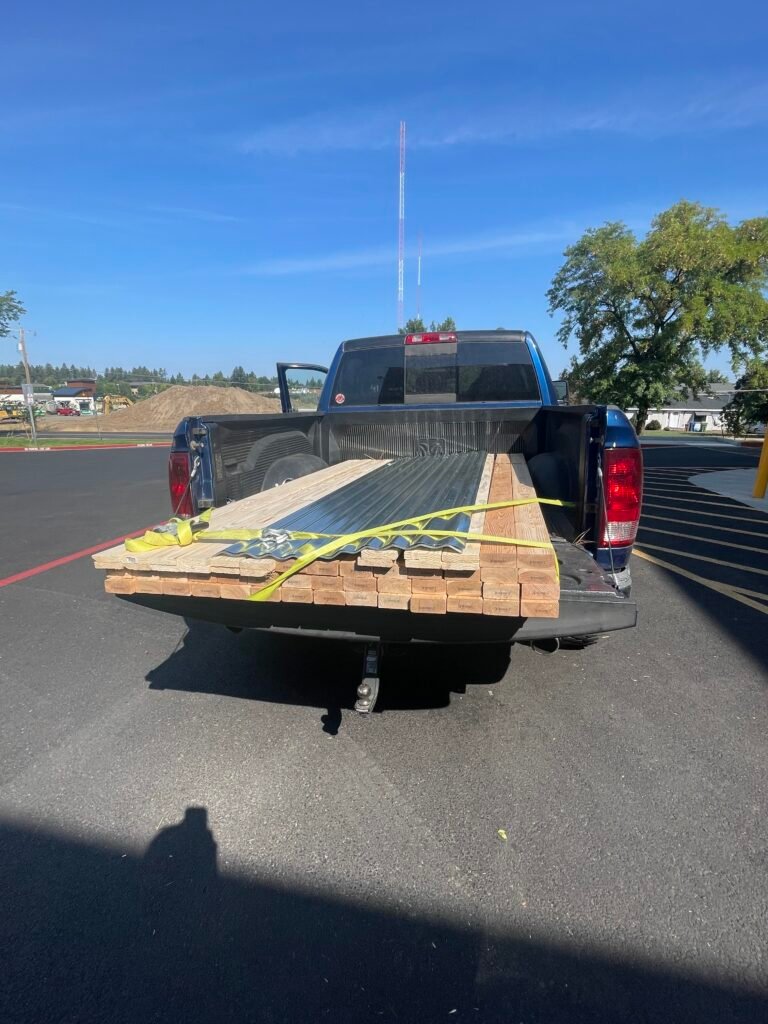
Awesome HomeDepot employees loaded all my wood supplies in the bed of our truck. This was about $150 in lumber. You can shop discounts by going in store to look at clearance too!
Supplies Needed:
(3) 8 ft corrugated galvanized steel roof panels
Roughly (8) 2x4s will work for 1 bed.
1x4s (for the top lip/edge)
Deck or wood screws (outdoor rated)
I used Teks #9×1-1/2 in external hex zinc plated steel hex washer head roofing screws (100 pack). I got 2 packs just in case! You can find a similar product for cheaper here on Amazon.
Safety gloves/eye pro (edges of corrugated metal can be sharp!)
Step 1: Decide Your Dimensions
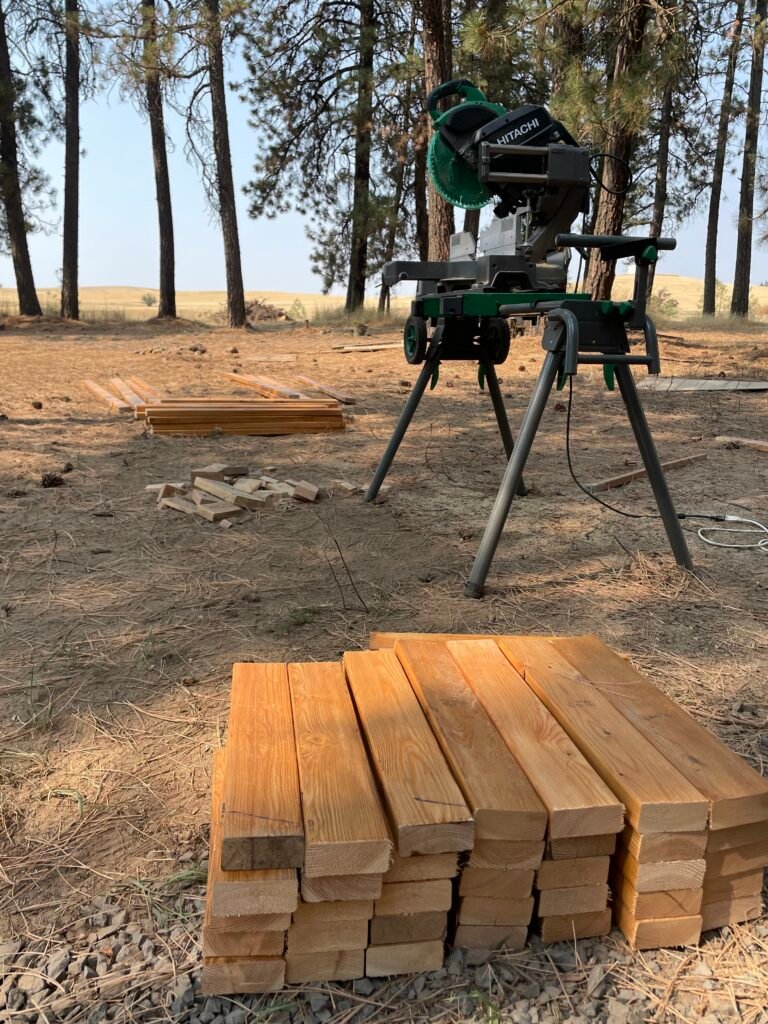
Measure twice, cut once. I decided to make one bed first, assess measurements and then cut the rest of the wood to make an assembly line. This worked well for me.
I chose to make mine 4 ft wide x 8 ft long x 2.5 ft tall. The width makes it easy to reach the middle without stepping in the soil, and the height means I can sit comfortably on the edge while planting or weeding.
Before cutting, stain your wood. If it rains overnight, your boards will be protected (ask me how I know 😉).
Step 2: Cut Your Wood (this amount is for one box)
Using your skill saw, cut 8 vertical posts (2x4s) at 19” tall.
I used 8 foot (96 inch) 2×4 for the horizontal pieces for the length. These will create the frame.
Cut your 1x4s to length for the lip that will go around the top.
For one bed you should have:
(4) 2x4x96 (length pieces top/bottom)
(8) 2x4x19 (corner pieces)
(4) 2x4x24 (width pieces top/bottom)
(2) 8ft corrugated metals sheets (length)
(2) 26in corrugated metal sheets (width pieces, basically cut the big one in half)
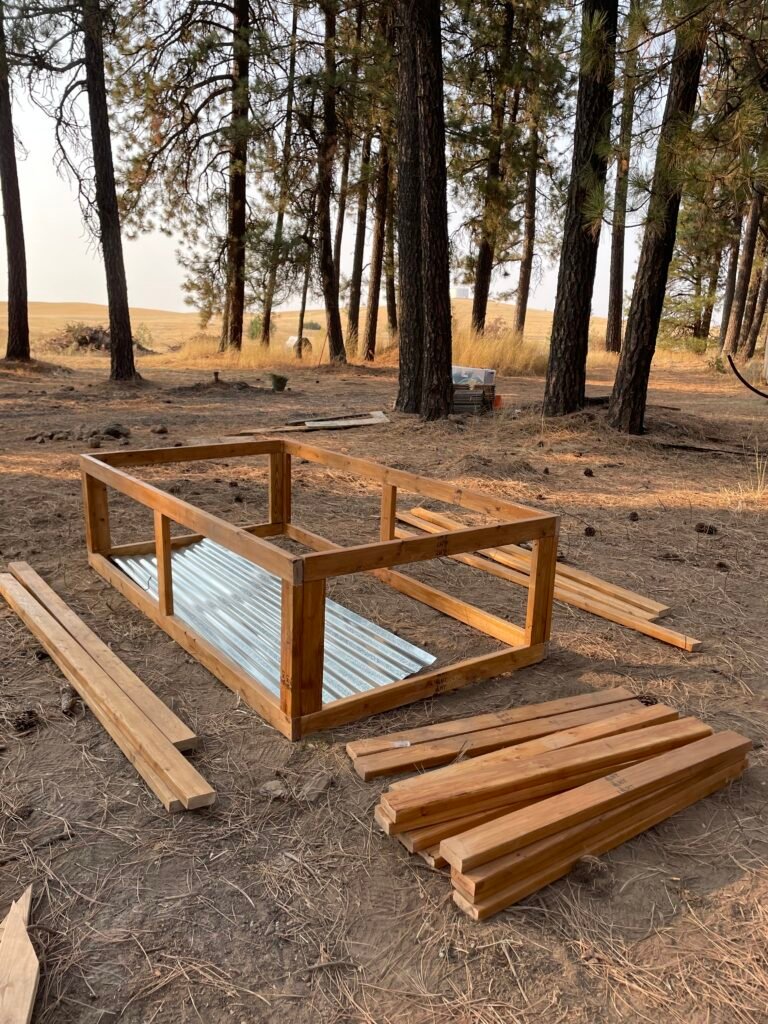
Step 3: Build the Frame
I built out all the frames first. After cutting all the wood, this was very easy to do. Then, I focused on the metal sheets for all the bed.
Using your drill, screw the 2x4s together to form a rectangle. Use a carpenter’s square to check your angles. a. This may be made easier if you use a wood drill bit to make smaller holes first. This can prevent the wood from splitting and make things faster once you get moving.
Add your corner posts at each edge for the vertical. I created my own pocket holes to connect these vertical posts. You could also use brackets.
This “skeleton box” will hold the metal sides.
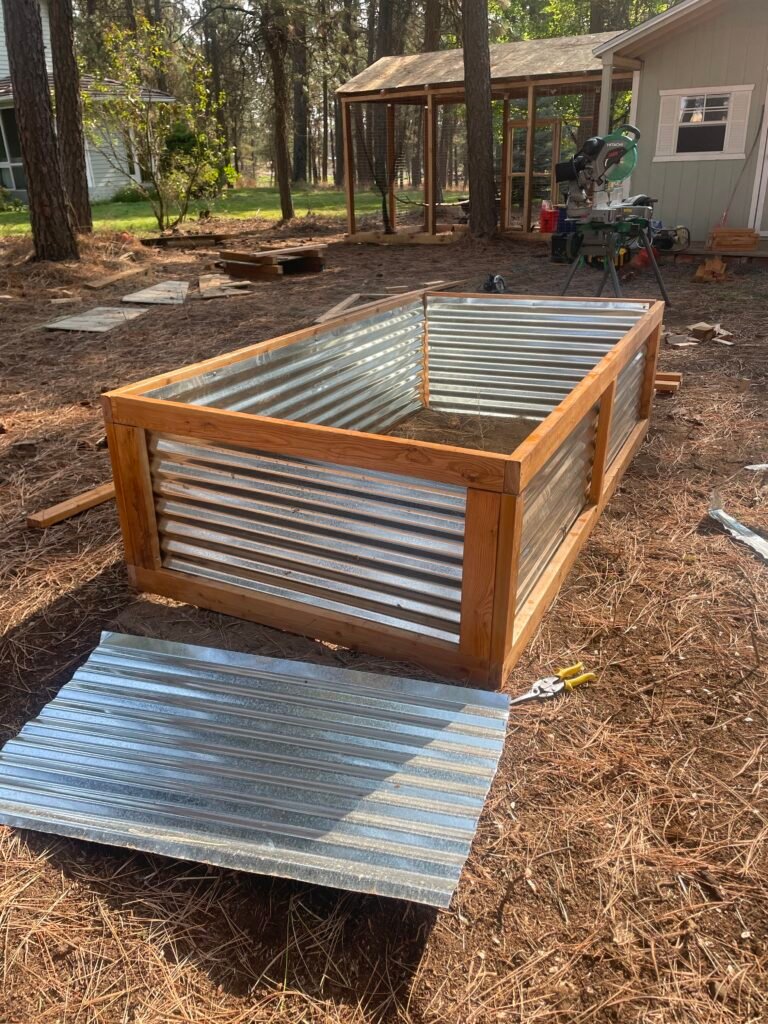
Step 4: Attach the Corrugated Metal
Measure and cut the panels to fit each side (~2 ft tall). Be VERY careful. This metal is very sharp! I wore my working gloves the whole time and they saved me from dozens of cuts.
This creates a smooth surface to sit on so I won’t be breaking my back in the future pulling weeds.
Step 6: Place & Fill Your Bed
Put your raised bed in its permanent spot. These are light enough you could drag them, but I recommend having a partner help move them to save your back! Use a wood level to make sure your garden beds are level, this will be important when you water. You can use extra soil, bricks or whatever to level your garden beds.
Layer cardboard or landscape fabric at the bottom to block weeds.
Fill with soil/compost mix (I like 1/3 branches from around the property, 1/3 green waste/compost, 1/3 peat moss or topsoil).
Step 7: Plant & Enjoy
Water thoroughly.
Add seeds or starter plants. I’ll probably just add a cover crop for the fall.
Mulch to keep moisture in.
Faith Reflection
Building these beds reminded me that just as we plant seeds in soil, we’re also planting seeds of faith in our daily lives. It takes time, care, and patience to see fruit — but the harvest will come.
While the season for planting is coming to an end, I wanted to get these built and moved to their designated places as soon as possible. We’re planning to use a hugelkultur method inside the bed. This gardening technique creates self-sustaining raised beds by burying large quantities of wood and other compostable plant debris. As the buried wood slowly decomposes over time, it provides a steady, long-term source of nutrients for the plants growing in the mound. The decomposition creates a deep, rich, and aerated soil bed, leading to stronger plant growth. So, my thought process was the sooner I get these done, the better.
Build These Again?
Absolutely! With the experience I gained, a second round would go even faster. I built most of them on my own, though my husband helped with the last two (because he’s amazing). Between interning at the farm, mom life, and everything else, it took me about a week to finish all five beds. Looking back, I’m proud I tackled it — and excited to see them full of life next spring.
Tips:
Measure twice. CUT ONCE!
Wear the gloves, the metal is very sharp.
Pocket holes can be made without a fancy tool. I ended up making my own with the drill bits that came with my drill gun.
Cutting the metal isn’t quick, be patient and wear the gloves. The metal screws are more difficult to screw in – be careful!
I built one bed, made notes on the measurements and then measured and cut the rest of the materials.
Drilling your screws in may be made easier if you use a wood drill bit to make smaller holes first. This can prevent the wood from splitting and make things faster once you get moving.
2 thoughts on “019 – Why I Chose Raised Garden Beds (And How You Can Build Them Too)”
Katherine
What a beautiful powerful post from being impactful on the “how to” to the faith moment… which really is what this is all about – this short and fragile life. BLESS you!
What a beautiful powerful post from being impactful on the “how to” to the faith moment… which really is what this is all about – this short and fragile life. BLESS you!
Katherine, you are a treasure! Thank you so much for your support. I am blessed to call you friend.