Homemade sourdough cinnamon rolls
These scrumptious, fluffy sourdough cinnamon rolls will melt in your mouth. With cinnamon goodness in every bite, you will love these with, or without, the icing!
Ingredients
Method
Dough
- Start with your active sourdough discard. It's best if it passes the float test.
- In a large bowl, combine your water and SD starter and mix until dissolved.
- Add oil.
- Add honey.
- Whisk together until fully mixed.
- Add flour. I like to use a Danish Dough Whisk to combine until the dough is a shaggy ball and pulls away from the bowl. You can also use a mixer with your dough hook.
Autolyse (This stage allows your dough to rest / ferment a little bit).
- Allow your dough to autolyse on the counter for at least an hour.
- Sprinkle your salt in
- Add some water with a spray bottle and then work in the salt using your hands.
- Allow to rest for another 30 minutes.
Stretch and Folds
- Conduct 4 rounds of stretch and folds. I like to wet my hands and grab one side of the dough (reach under it gently), stretch is upward until it resists, then fold it over to the opposite side. Rotate the bowl 90° and repeat the stretch and fold. Do this all four sides of the dough (like a square), or 4-6 folds depending on how extensible your dough is. The dough will be shaggy and weak at first. After the second/third folds, it becomes smoother, stronger and more elastic. On the last fold, the dough should hold its shape better and feel tighter with noticeable gluten development.
- TIPS: Don't over do it! 3-4 good sets is usually enough. If the dough resists too much or tears, stop - this means gluten is tight and needs rest. Keep it covered and warm (around75-78°F) to allow fermentation to continue.
Bulk Rise
- After your stretch and folds, allow your dough to rest for a least 1 hour. IF you plan to bake same day, you can skip the bulk rise and just jump straight into the next step.
- Optional: You can allow your dough to rest in the fridge, we call this "Cold Rise" and allows the dough to rise overnight in your fridge. Just make sure you have the dough well covered before you put it away. Allow your dough to return to room temp (~1 hr) before proceeding.
Roll-out
- Drop your dough onto a clean work surface. I typically flour a little bit, but you don't have to... too much flour could change the consistency of your dough. You can also spray your work area with a LITTLE bit of water so the dough doesn't stick.
- Spray your rolling pin with water or little oil to roll.
- Roll out your dough into a rectangle (~12 inches x 15 inches). If your dough is too sticky, wet your hands.
- Make sure you degass your dough by pushing out any and all air pockets you see.
Cinnamony-goodness filling
- Mix cinnamon and sugar together
- Spread your melted butter on top of your dough and sprinkle cinnamon sugar mixture on top.
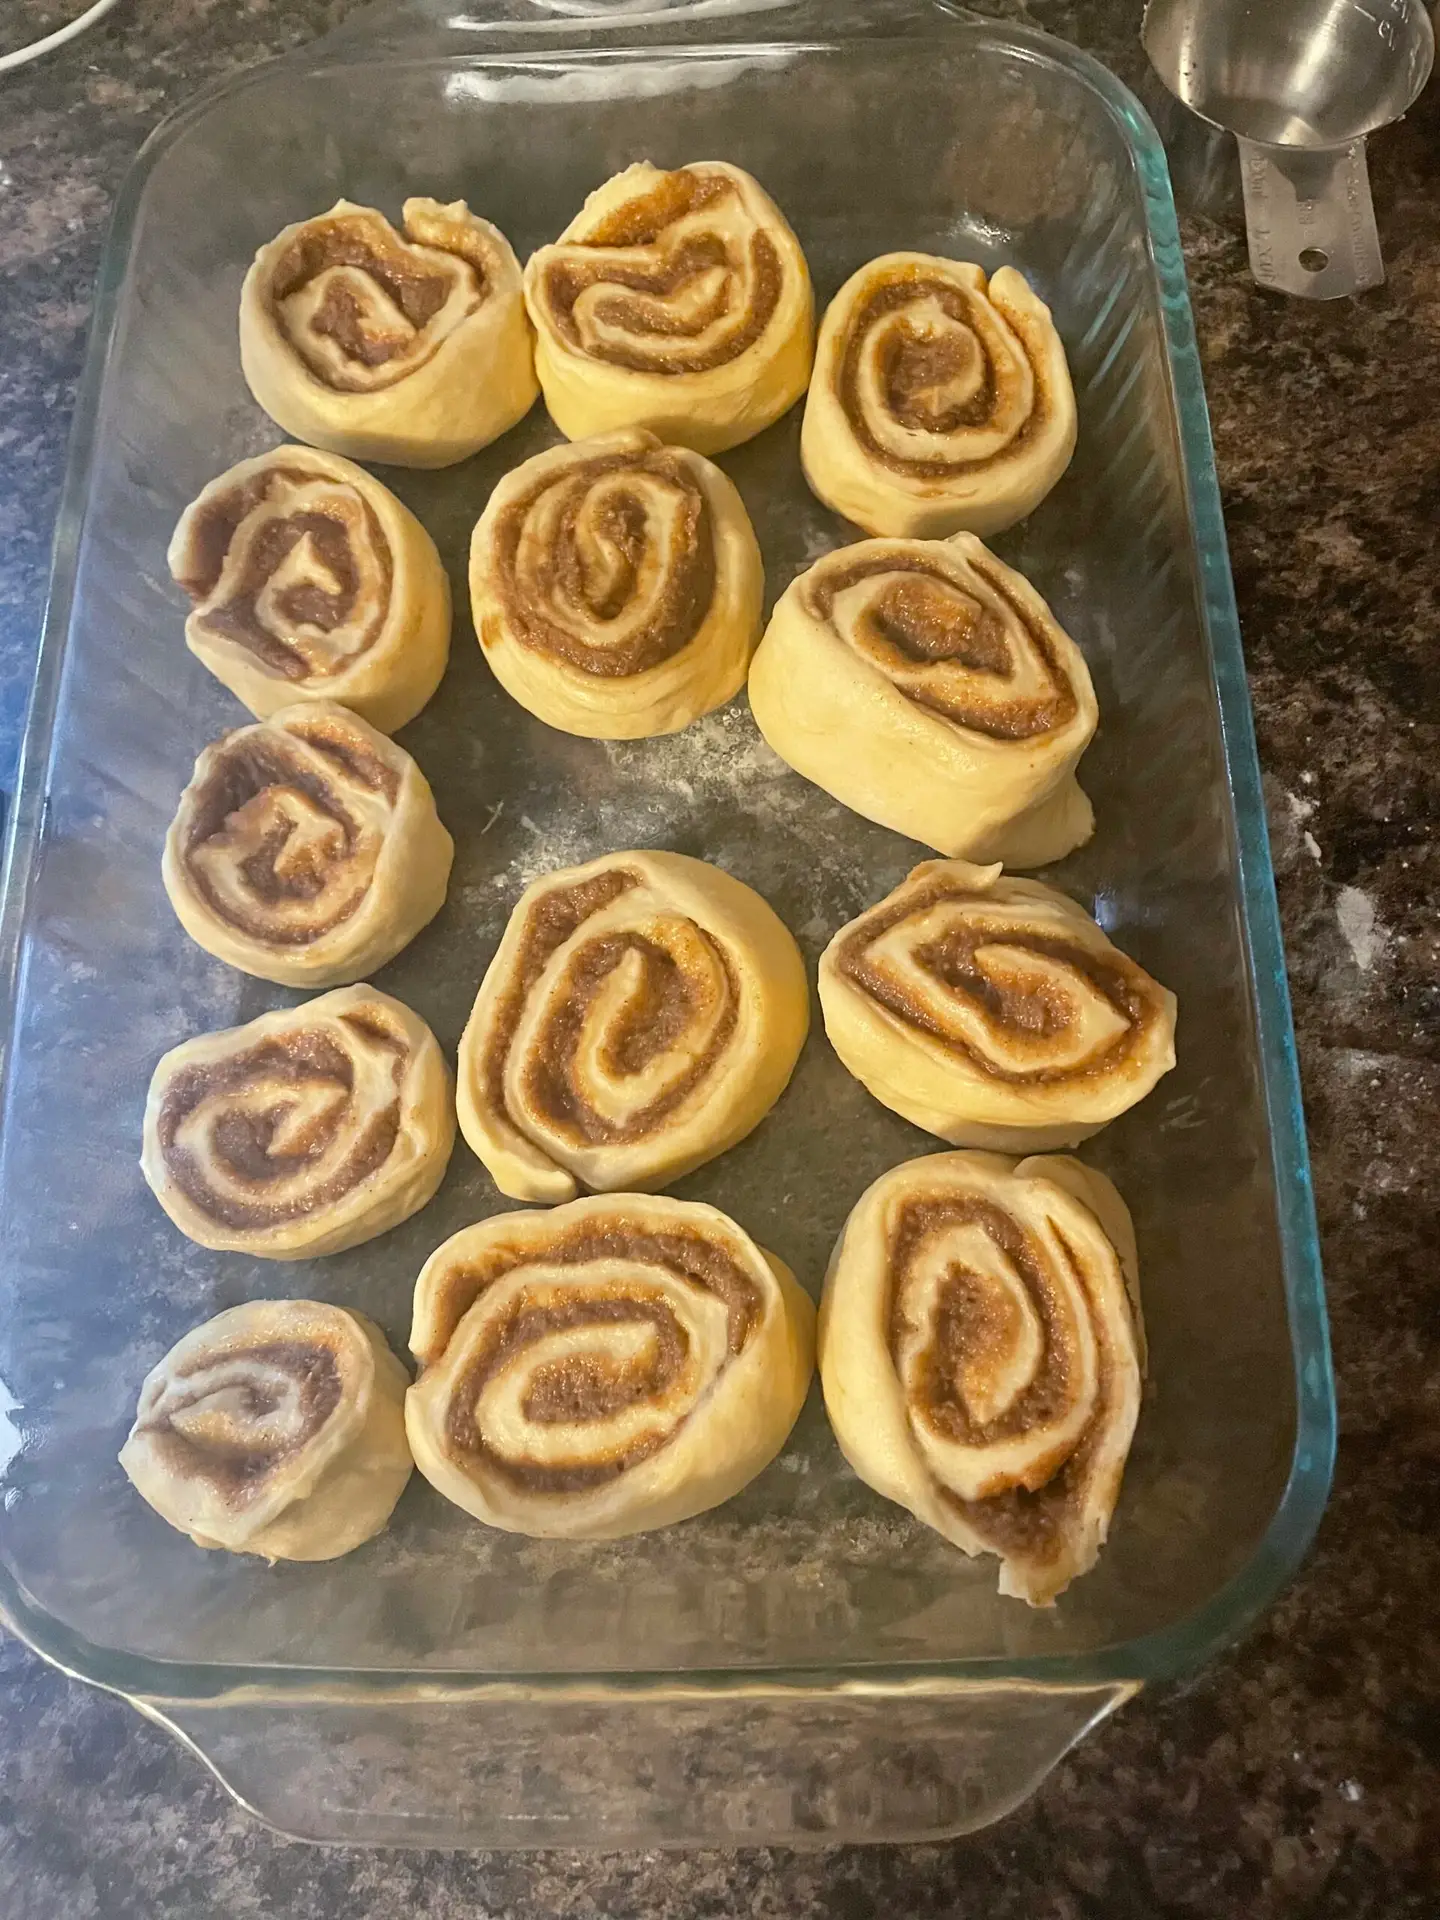
Form your rolls
- With your dough scraper (or butter knife), release the dough from the counter enough to begin rolling. Be careful not to tear. Carefully roll the dough as it's released.
- Continue rolling until it forms a nice log.
- Measure and cut into evenly sized parts.
- OPTIONAL TIP: Before you roll, you can slice your dough into 12 stripes and then roll them up. This can be messy, but I've seen it work. OR You can roll the dough and use dental floss to tie around the dough and tighten, which will cut the dough nicely.
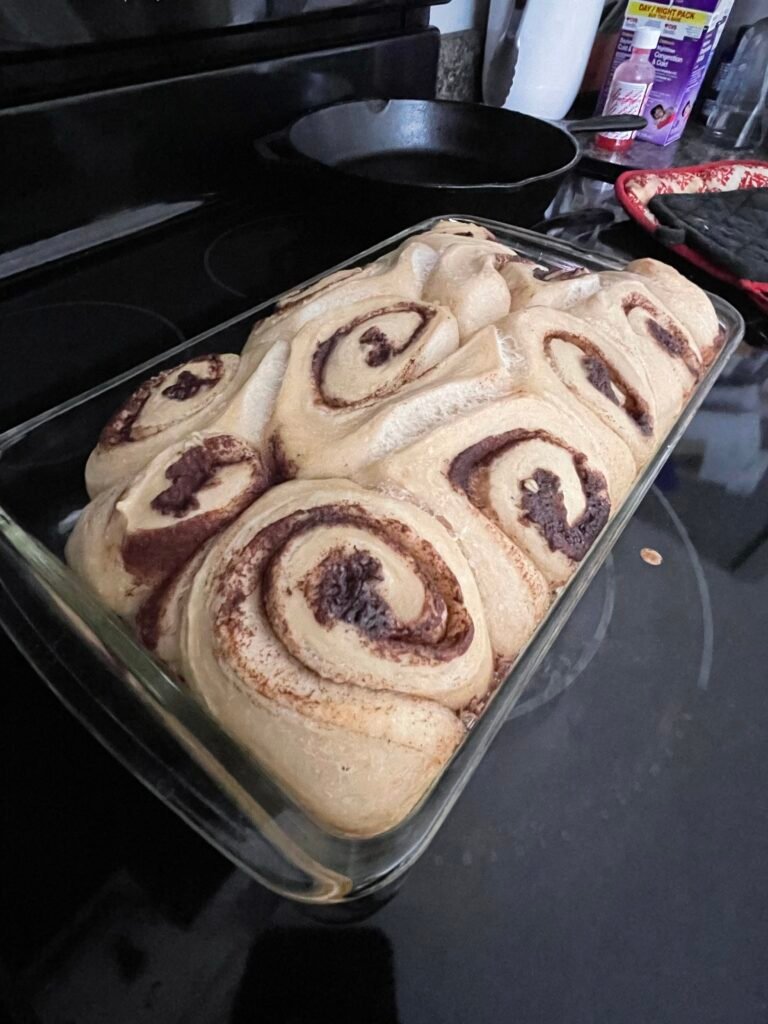
Final Bulk Rise
- Grease your pan.
- Place your cinnamon roll rounds face up (with the yummy swirls facing upward) Rolls should touch just slightly.
- Allow your rolls to rise on the counter for at least an hour. They should rise enough to where they push on each other. If your home is a bit cooler (less than 75°, you may want to give it 90 minutes to rise).
Cold Rise (I usually skip this because I'm eager!)
- Allow rolls to rest in the fridge for an hour. This will help give your dough "spring".
- Preheat oven to 400°F
- Bake the cold rolls for 10 minutes. Then, reduce the heat to 350°F for the remainder (20 minutes)
- Rolls should be ~195°F in the center and slightly browned. Remove and allow to cool before icing!
Topping Goodness
- Mix powdered sugar, melted butter, vanilla and cinnamon
- Add half the water (or milk). Continue to add liquid until you reach the consistency you'd like for your icing.
- Pour your icing over the warm-ish rolls so the icing melts down the peaks and dips of the cinnamon rolls.
Storing (if you have any leftovers!)
- *I think these are best within the first 2-3 days. If you store them in an airtight container, they could last 4-5 days. If you plan to reheat, only do so for 10 seconds or so in the microwave.
- *I prefer to use the metric system when baking with sourdough, which is why everything is in grams. If you don't have a scale, I've included the conversions.