This post may contain affiliate links, which means I may earn a small commission (at no extra cost to you) if you purchase through my link. Thank you for supporting my blog!
Homemade Butter
Do you love the smell of fresh bread right before you pull it out of the oven? Me too! I also love slicing off cold butter and watching it melt on said HOT bread! The smell is just so, homey. I don’t know how else to describe it.
This week, I’m trying to prolong going to the grocery store so I’m making some essentials from scratch. And, butter just happens to be one of those essential items that I need. So many other recipes rely on butter that I just can’t wait until I go into town later this week.
This week, I’m making homemade hamburger buns, pizza dough, mashed potatoes for dinner one night, and pancakes. All these require butter. Not to mention the regular slice of toast we’ll sometimes have for breakfast or a snack.
I used to eat plant-based butter because I thought it was healthier for me. While it may contain fewer calories, the ingredient list is far more complicated than I’d like so I’ve switched back to eating regular butter. The older I get the more I crave simplicity. And this butter – is simple.
What You Need To Know About Homemade Butter
There’s history to butter! Did you know that? Interestingly enough, some scholars believe its origin dates back to the Neolithic period around 10,000 B.C. They think that while transporting goat milk, shepherds would accidentally discover churned milk in their skin bags (where they stored the milk) from all the jostling, creating butter. Is this true? I’m not sure, but I’m sure glad the practice continued!
Today, it’s easy to whip it up and dress it up. You can add all sorts of things like garlic, cinnamon, herbs and spices (with Fall here think pumpkin spice butter!?).
Nothing Better - So Simple
Making butter is so simple that elementary students sometimes make it in class in Tupperware.
My kids love watching the different phases of the cream and when they try the first melt-in-your-mouth bite, they’re in heaven. I let them help pour the cream into the mixer and they usually want to try it at the whipped cream phase (but it doesn’t have sugar so they usually get the ick).
How to Make Homemade Butter
Seriously, it’s so simple that your kids can make this for you!
- Pour your cream into your mixer using a whisk attachment.
- Turn the mixer on high and allow it to do its work for about 20 minutes.
- Once you hear more splashing than mixing, turn the speed down and allow the whisk to capture all the particles.
- Once it’s all captured in the whisk, strain. (Consider keeping the buttermilk. It goes great in pancakes, biscuits etc. It’ll last a few days in the fridge).
- Drop into an ice bath and allow to sit for 15-ish minutes. I’ve skipped this step previously and it’s been fine.
- Using a wooden spatula press out excess liquid. You want to press out as much as possible to prolong the life of the butter.
- Once you’re done with pressing, you c an add your salt, spices or herbs. You can have so much fun here!
- Roll/mold into your preferred storage shape (Squares are easy to stack).
- Store in serán wrap or in an air tight container. (I like this butter container!)
Is Homemade Cheaper Than Store Bought?
This depends where you shop. If you go to Walmart, you may get a pint of heavy whipping cream for about $4-5. A pack of 4 sticks of butter may cost ~$4-5.
So, while you may not be saving a ton, you are getting the bi-product, which is the buttermilk. Plus, you get the added benefit of adding your preferred salt level or herbs/spices.
Buttermilk is also a good substitute in recipes that call for milk. You can also freeze it and thaw for future use in a pinch.
For me, this week, it’s cheaper to make it from scratch because I have the cream and the nearest store is ~30 minutes away. So, it would cost me an hour of time, $5, and the gas to get there. 😉
How Long Will Homemade Butter Last?
If you leave your butter out on the counter, it can last about a week or so. If you refrigerate it, it will last about a month or more. If you freeze it, it’ll last about 2-3 months in the freezer. I haven’t had it stored longer because we’ve been eating it!

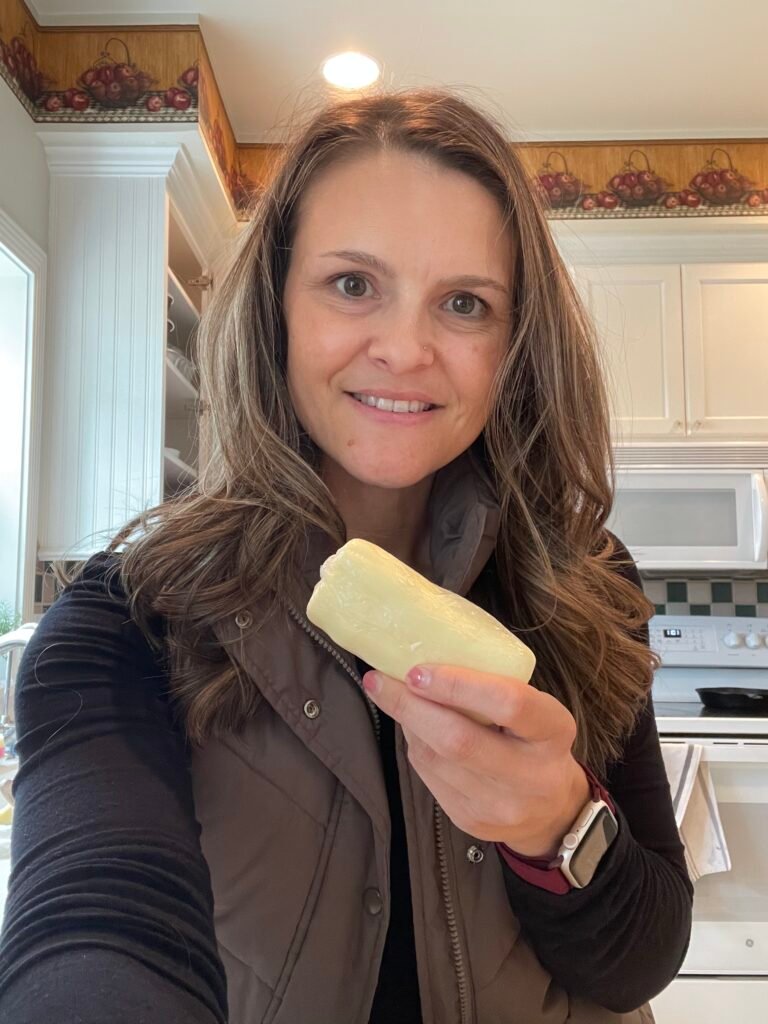
Best Believe It's only Butter
Method
- Pull out your kitchen mixer and insert the whisk attachment
- Pour in heavy whipping cream
- Turn on your mixer, set the speed as high as you can go without the cream splashing everywhere. I find this to be 8 out of 10 on my mixer.
- Allow the mixer to do its work. This can take up to 20 minutes or so. You'll notice the cream turn to whipping cream at which point you could add sweetener and be done. But, for butter, you'll want another 10-ish minutes or so. You'll hear the liquid start to splash and notice the solid pulling away from the liquid.
- Allow the mixer to go until you hear more splashing than mixing. This may get messy!
- Turn down the speed and allow the whisk to continue to scoop up particles of butter. This makes the next process easier.
- Once the majority of butter is in the whisk, turn off your mixer completely and prepare the ice bath.
- Using a medium sized bowl, place the formed butter in the ice water.
- Allow the butter to chill for about 10-15 minutes. *I've skipped this step when in a hurry and it was fine.
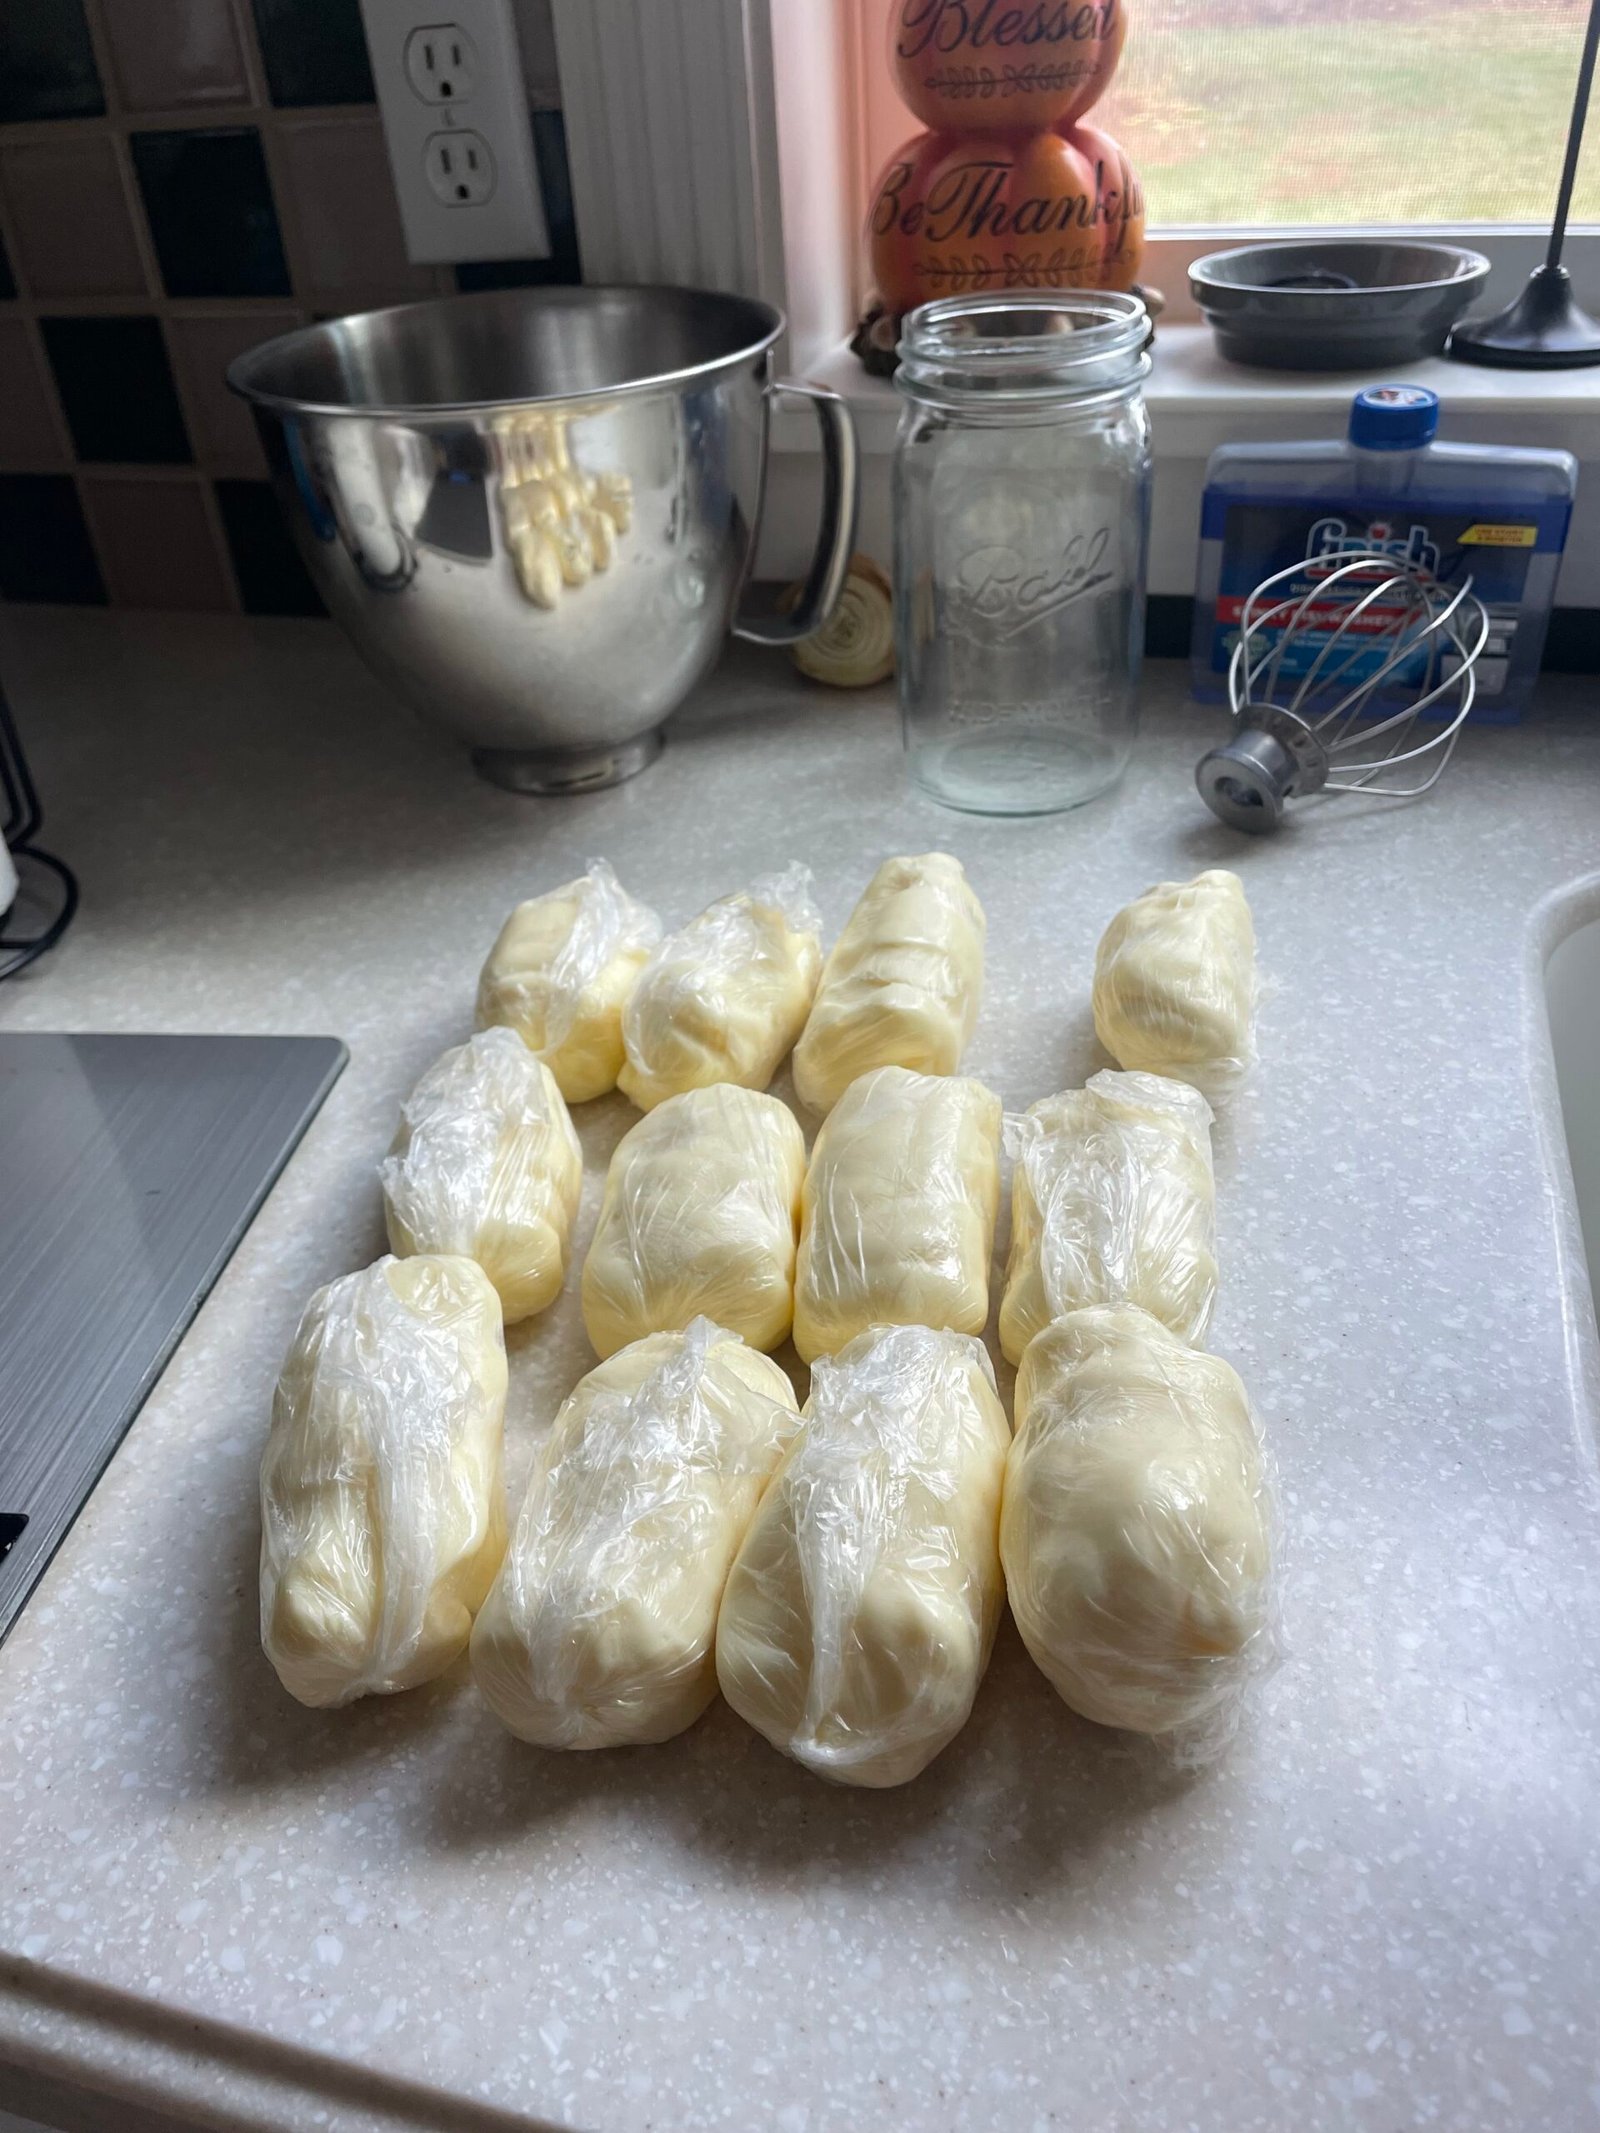
- Knead the butter to release excess liquid. The more you release, the better for preserving. Squeeze it all!
- At this point, you can add salt, cinnamon, garlic or herbs. It's not difficult to image all the things you can mix with butter!
- Keep the butter in an airtight container and use within 2 weeks. If you freeze, it'll last longer@
